
We had a very old, very dirty, and very gross fireplace. In other words, it needed an update. So we decided to stay trendy for our stone fireplace makeover and whitewash it.
Brick and stone fireplaces are an awesome addition to a house. Although sometimes they can look outdated and dirty. Whitewashing is an easy and inexpensive way to give your fireplace a new look. A whitewashed fireplace will go well with any style farmhouse, contemporary, industrial, modern. Here is what you need to get started…
Materials:
- Water-based paint (we used an alabaster)
- Water
- Mix container
- Rags
- Drop cloth
Tools:
- Large and small brushes
- Spray bottle
- Orbital sander (for the wooden mantel)
- Sponge
- Vacuum
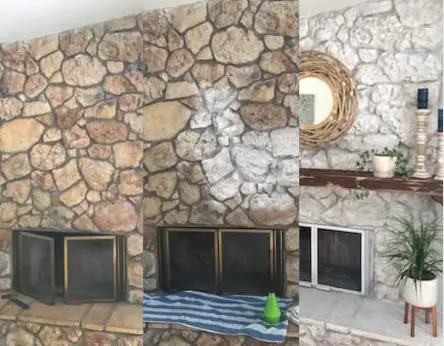
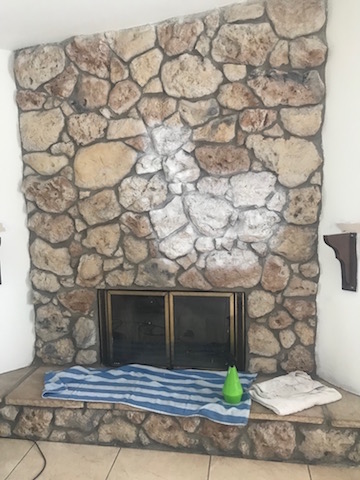
Here are some pictures of what we started with.
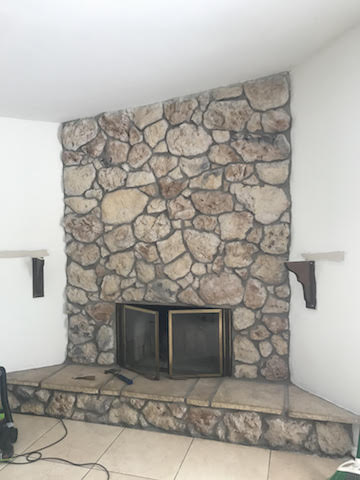
As you can see the fireplace is dirty and it does not look good. You can also see that when painting the living room we didn’t know that the wooden mantel could be removed. So we just painted around it.
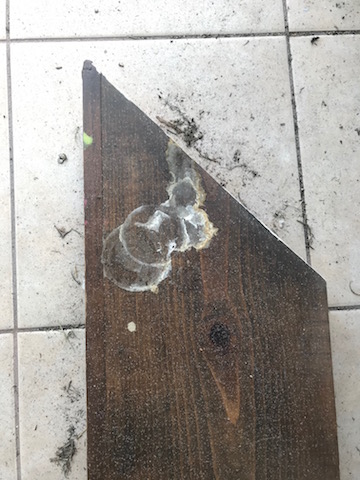
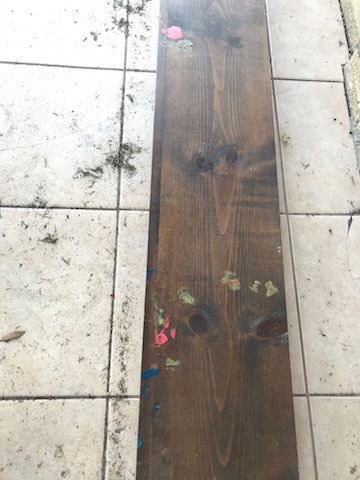
Here is the wooden mantel. It was very gross and we are going to sand it down later to give it a nice weathered look.
1. Prepare the stone
Use the rags and water to clean the stone. This is to remove all of the dust and dirt. There might also be spiderwebs and ash. I found the best way to get everything off was to use both a vacuum and rags. A stiff brush would also work to get into the deep crevices.
2. Protect
Make sure that the surrounding areas are protected. We used a drop cloth and masking tape to make sure that I only got paint where I wanted it. I still got a lot of paint on the tile floor.
I was excited to start applying the paint so I masked everything off halfway through the whitewash.
3. Prepare the mixture
They do sell premade mixtures at lowes and home depot. I advise just mixing it yourself. It is really easy to do. You can use a mixing container. The basic rule of thumb is to do 50/50 water/paint. This is your project so you can make it however you want. Slowly add the water until it becomes very soupy. Pour the mixture into your spray bottle. Make sure to leave some on the side for your paintbrush.
4. Apply the paint
This can be scary because it’s a big change but trust me it will look good. Work in small sections and work slowly. Start from the top and work down because the paint will drip and its best to work downward.
Spray the paint from the bottle then use the sponge and brush to rub in the paint. Remember to do this slowly because there are a lot of small spots that are hard to get into.
Here is the fireplace midway through. As you can see I started in small sections slowly moving around. Use the sponge and brush to get into small cracks and crevices. Be aware, the stone does absorb the mixture so you may have to go back and reapply.
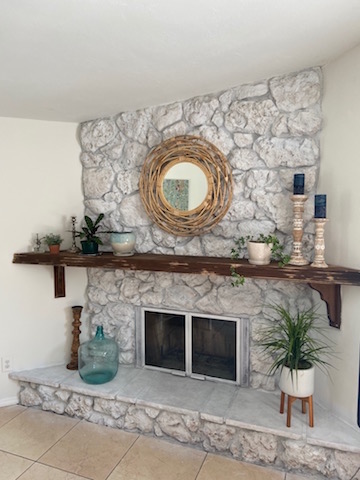
5. After the whitewash makeover
This is the final result of the stone fireplace whitewash makeover. As you can see we painted the metal opening of the fireplace white as well. All we did for the wooden mantel was sand off all the dirt and grim. Then we pressed harder in some areas to give it a nice weathered look.
If you are interested in more makeovers like this check out what we did to a trash can coffee table I found on the side of the road